Instructions for Side by Side Printing
- Print the notecards
- Fold each page in half along the solid vertical line
- Cut out the notecards by cutting along each horizontal dotted line
- Optional: Glue, tape or staple the ends of each notecard together
RCM Level 5 Theory - Music Signs
front 1  | back 1 Hold for the combined value of the tied notes |
front 2 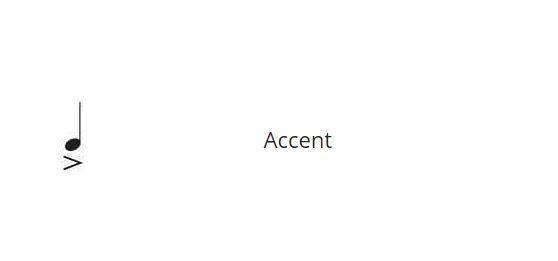 | back 2 A stressed note |
front 3  | back 3 Detached |
front 4 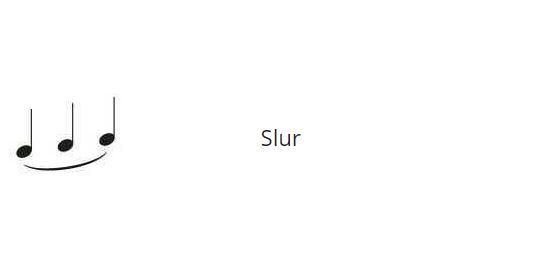 | back 4 Play the notes smoothly legato. |
front 5 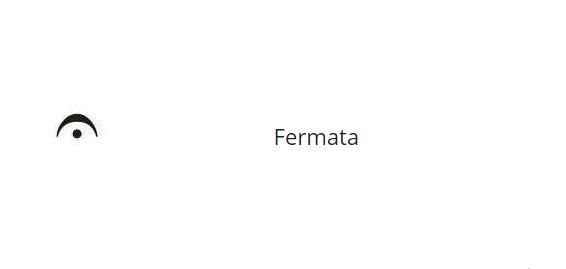 | back 5 Pause, hold the note or rest longer than its written value |
front 6 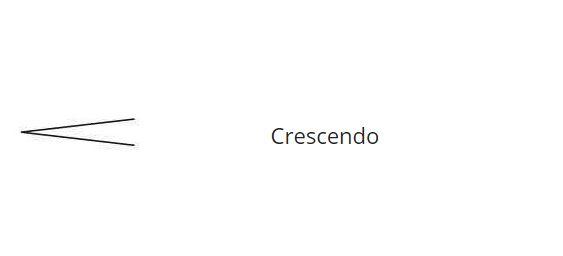 | back 6 Becoming louder |
front 7 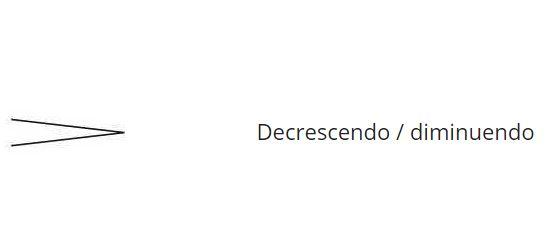 | back 7 Becoming softer |
front 8 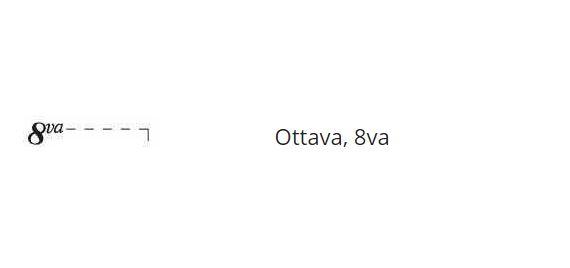 | back 8 Play one octave above written pitch |
front 9 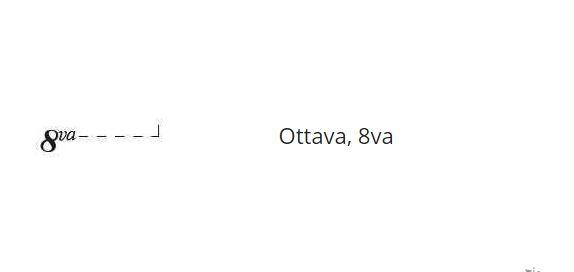 | back 9 Play one octave below written pitch |
front 10 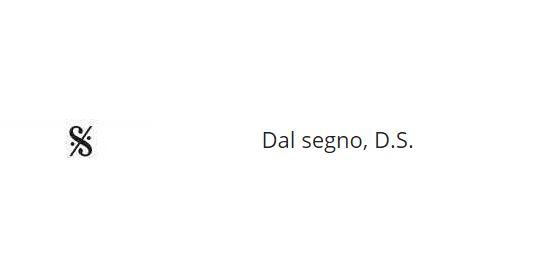 | back 10 From the sign |
front 11 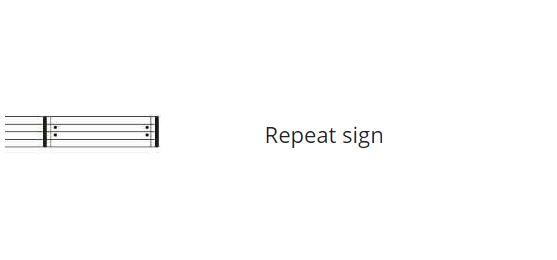 | back 11 Repeat the music within the two signs, or between the sign and the beginning of the piece. |
front 12  | back 12 (Pedal marking) Use the damper pedal (on the piano). |
front 13 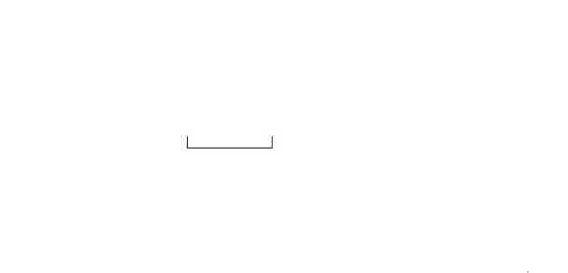 | back 13 (Pedal marking) Use the damper pedal (on the piano). |
front 14 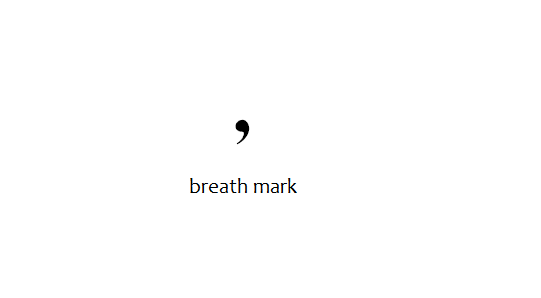 | back 14 Take a breath, and/or a slight pause or lift. |
front 15  | back 15  |
front 16 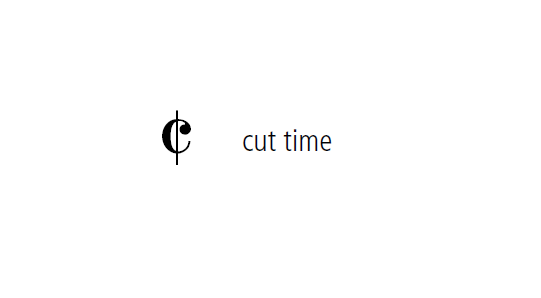 | back 16  |
front 17 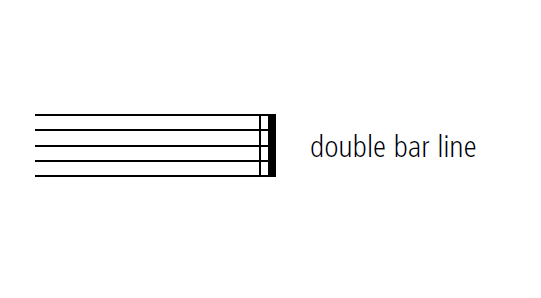 | back 17 Indicates the end of a piece. |
front 18 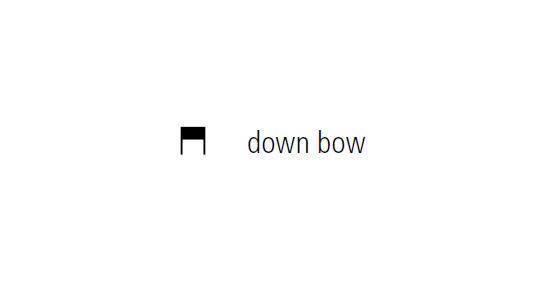 | back 18 On a bowed string instrument, play the note while drawing the bow downward. |
front 19 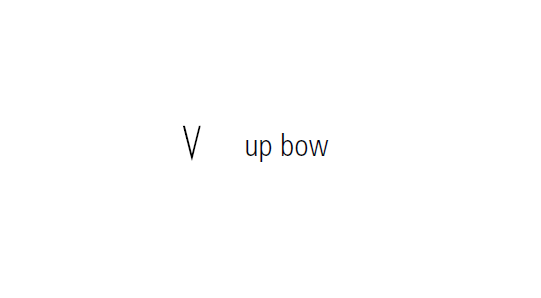 | back 19 On a bowed string instrument, play the note while drawing the bow upward. |
front 20 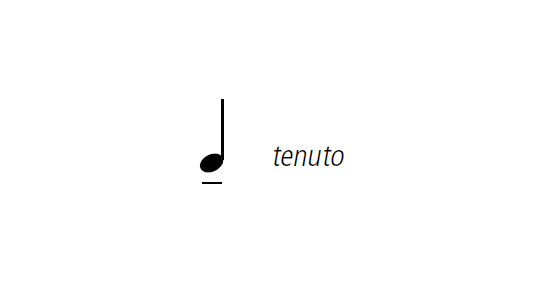 | back 20 Held, sustained. |