Instructions for Side by Side Printing
- Print the notecards
- Fold each page in half along the solid vertical line
- Cut out the notecards by cutting along each horizontal dotted line
- Optional: Glue, tape or staple the ends of each notecard together
Introduction to the light microscope
front 1 Light microscopy | back 1 Light microscopy refers to the use of any kind of microscope that use visible light to observe specimens The light microscope, so called because it employs visible light to detect small objects, is probably the most well-known and well-used research tool in biology. |
front 2 Types of light microscopy | back 2 –Bright-field –Dark-field –Fluorescence –Phase contrast |
front 3 Microscope parts and care | back 3  Always carry with 2 hands, one on the arm and one on the base Only use lens paper for cleaning the lens Keep liquids away! |
front 4 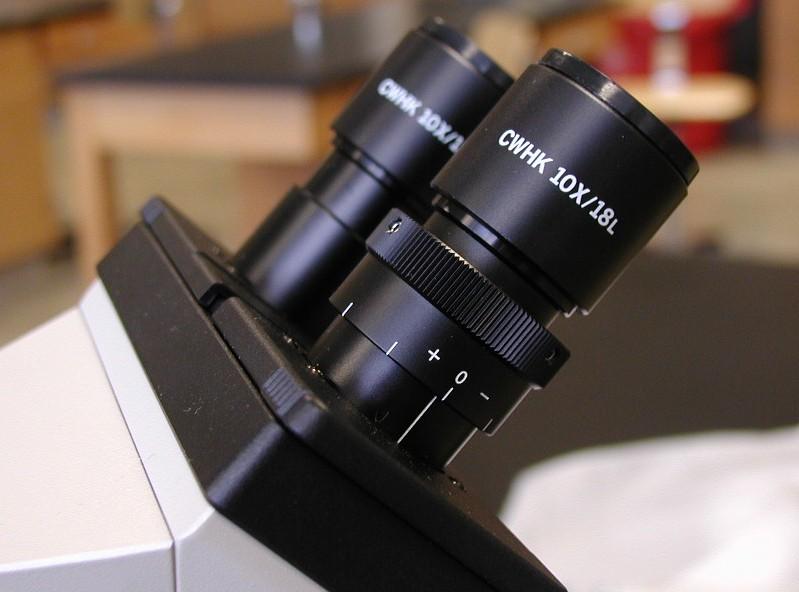 Ocular lens (eyepiece) | back 4 Remagnifies the image formed by the objective lens |
front 5 Body tube | back 5 Transmits the image from the objective lens to the ocular lens |
front 6  Objective lenses | back 6 Lens that is closest to the slide and provide initial magnification on a specimen (Primary lenses that magnify the specimen) |
front 7 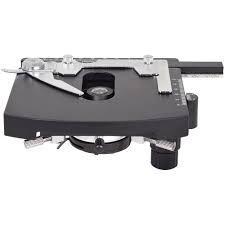 Mechanical Stage | back 7 Holds the microscope slide in position |
front 8 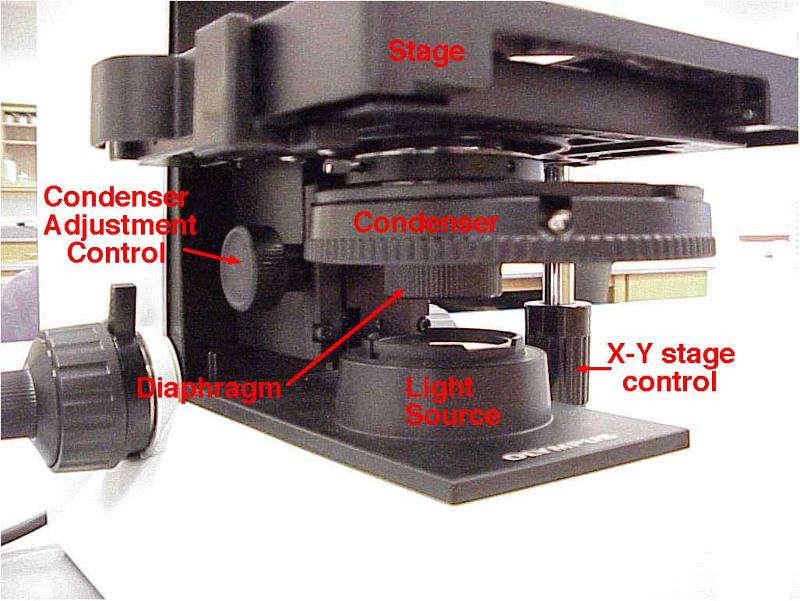 Condenser | back 8 Focuses light through specimen |
front 9 Iris Diaphragm | back 9 Controls the amount of light entering the condenser and the light that reach specimen |
front 10 Illuminator | back 10 Light source |
front 11 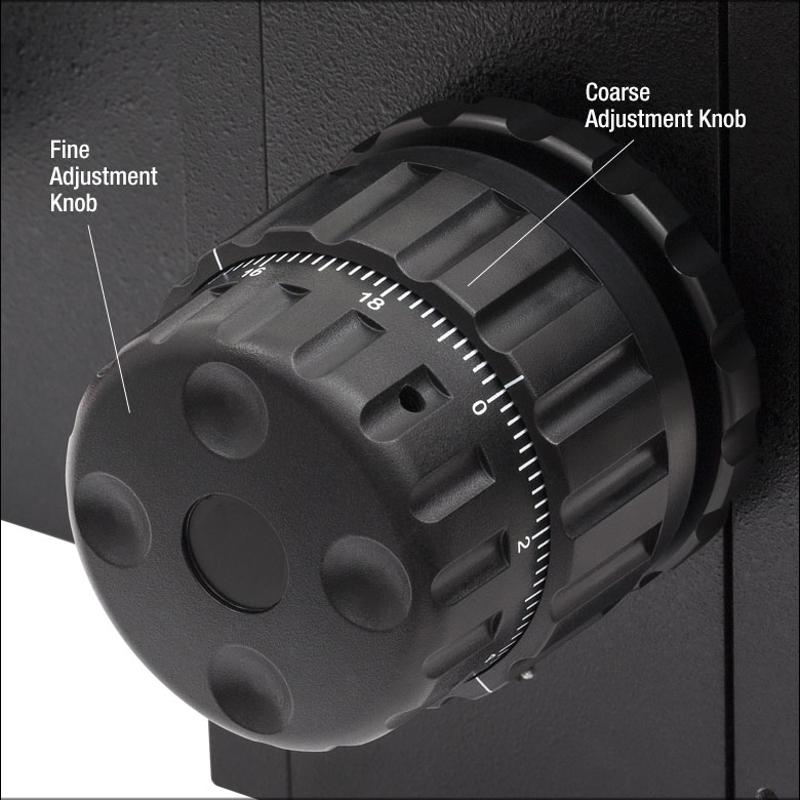 Fine focusing knob | back 11 Used after initial focusing, to sharpen the image |
front 12  Coarse focusing knob | back 12 Used or initial focusing, should never be used when the high power or oil immersion lens |
front 13 Total Magnification | back 13 Magnification by the objective lens X (multiply) Magnification by the Ocular lens |
front 14 Objective Scanning 4 X | back 14 locate specimen |
front 15 Objective Low Power 10 X | back 15 view the whole or large portions of specimen |
front 16 Objective High Power 40 X | back 16 see small, detailed parts of specimen |
front 17 Objective Oil Immersion 100 X | back 17 see very small specimens (e.g., bacteria) is used to keep light from bending |
front 18 Bright-field Microscopy | back 18
|
front 19 HOW do the image is formed? | back 19
|
front 20 Resolution | back 20 Magnification is due to the RESOLUTION of light as it passes through the lens the clarity of an image |
front 21
Bright-field Microscopy | back 21
|
front 22
Bright-field Microscopy | back 22
|
front 23 Light of shorter wavelength produce a clearer image than light of longer wavelength | back 23 True |
front 24 Best limit o esolution | back 24 The best limit of reso;ution (resolving power) for a light microscope is 0.2 Nm ( 200nm) |
front 25 What position should the stage be when you store the microscope? | back 25 at the lowest position |
front 26 If the resolving power of your microscopy is 250 nm, will you be able to distinguish two point that are 260 nm apart ? why? | back 26 Yes because the have a distance apart and it would possible to see it |